How to Use Photo Mode in Red Dead Redemption 2
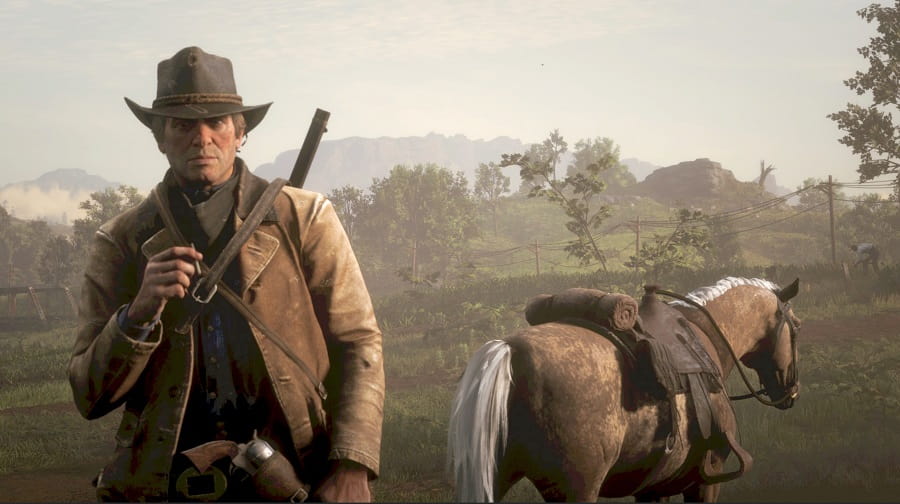
With Red Dead Redemption 2‘s world being so beautiful, of course you’re going to want to take some photos while playing.
Unfortunately, the game doesn’t have a photo mode like many others these days, where you can just push a button to freeze time and take as many pictures as you like. Instead, it has a camera that you can equip and use to take photos.
To use Red Dead Redemption 2‘s photo mode, during gameplay you need to hold the left shoulder button, access the items menu with the right shoulder button, and then equip the camera by selecting it on the right hand side of the radial menu. Once it’s equipped, you can press the left trigger to raise it and enter photo mode.
You can also take pictures of yourself in photo mode. With the camera raised, enter Self Portrait mode to presumably place the camera on a tripod. You can move the camera around to get the perfect shot, and even change your character’s pose and expression. Play around to see what amusing shots you can create.
Of course, you can also use the screenshot capabilities of both the Xbox One and PS4 to capture photos as well. You can even turn off pretty much all HUD elements to make them free of any clutter.
More Red Dead Redemption 2
- Red Dead Redemption 2 Review (Spoiler Free)
- Watch Our Spoiler Free Red Dead Redemption 2 Video Review
- A Journey Through Red Dead Redemption 2, In 4K Pictures
- How Many Chapters Are There in Red Dead Redemption 2?
- 13 Tips to Get You Started in Red Dead Redemption 2
- How to Unlock Fast Travel
- How to Increase Your Health, Stamina and Dead Eye Meters
- How to Cook Food
- How to Bond With Your Horse
- How to Save Your Game
- How to Change to First Person or Cinematic Camera
Did you find this guide helpful? Please consider making a one-off donation to GameSpew. All money raised goes directly towards the running costs of the site and helps us continue to make guides, walkthroughs and more content.